Generic OIDC
This guide covers how to configure a generic OpenID Connect (OIDC) provider to work with Pomerium.
Background
Pomerium provides default identity provider settings that allow you to seamlessly connect with a number of well-known identity provider (IdP) solutions. However, Pomerium can also connect with any generic OIDC provider if both Pomerium and the OIDC provider are properly configured.
To learn how a generic OIDC implementation works with Pomerium, you will configure Keycloak as your OIDC provider.
Before you start
This guide requires you to self-host the Keycloak server. To minimize set up time, you will deploy Pomerium, Keycloak, and the Pomerium Verify service in Docker containers.
To complete this guide, you need:
Set up Docker Compose
Create a docker-compose.yaml file and add the following configuration:
services:
  mykeycloak:
    image: quay.io/keycloak/keycloak:22.0.1
    command:
      - start-dev
    environment:
      - KEYCLOAK_ADMIN=admin
      - KEYCLOAK_ADMIN_PASSWORD=admin
    ports:
      - 8080:8080
    networks:
      default:
        aliases:
          - keycloak.localhost.pomerium.io
  pomerium:
    image: cr.pomerium.com/pomerium/pomerium:latest
    volumes:
      - ./config.yaml:/pomerium/config.yaml:ro
    ports:
      - 443:443
  verify:
    image: cr.pomerium.com/pomerium/verify:latest
    environment:
      JWKS_ENDPOINT: https://pomerium/.well-known/pomerium/jwks.json
Note the following points about this configuration:
start-devruns the Keycloak server in Development mode- The admin console username and password are both
admin - The Keycloak server is assigned a network alias (
keycloak.localhost.pomerium.io) so Pomerium can generate a sign-in redirect URL that resolves to the Keycloak container on the host machine
Set up Keycloak
In your terminal, run Docker Compose:
docker compose up
When Keycloak is ready, navigate to http://localhost:8080 to access the Administration Console:
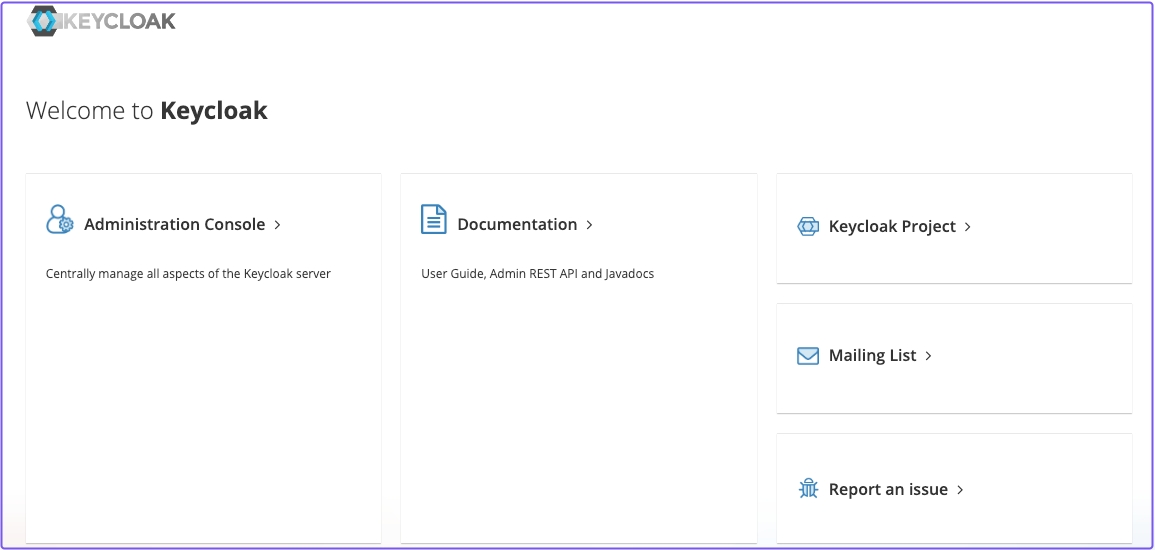
Sign in with the admin credentials.
Create a realm
Keycloak uses realms to manage sets of users, credentials, roles, and groups. When you start Keycloak, your instance comes with an admin realm called master.
To create a new non-admin group, create a new realm in the admin dashboard:
- Select the master dropdown
- Select Create Realm
- In the Realm name field, enter a name, like "Pomerium"
- Select Create
Create a user
Your realm has no users at first. To add a user:
- Go to the admin console (http://localhost:8080/admin)
- Select Users
- Select Add users
- Enter a Username, a First name, and Last name
- Select Create
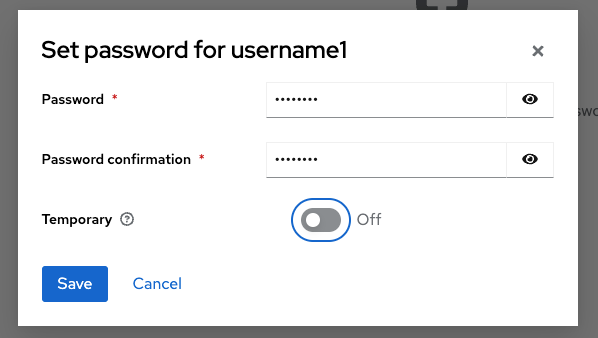
Now, assign the user a password:
- Select the Credentials tab
- Select Set password
- Enter a password and confirm it
- Set Temporary to Off so the user doesn't have to reset the password at the first login
- Select Save
Create a client
Lastly, you need to create a Client for the realm you just created:
- Go to the admin console (http://localhost:8080/admin)
- Select Clients, then Create client
- Keep Client type as OpenID Connect
- In the Client ID field, enter a name like
mynewclient - In the Authentication flow field, select Standard flow and Direct access grants
- Leave Login settings empty, and select Save
Update the client you created:
- Under General Settings in the Name field, enter your Client ID in template literals (for example,
${mynewclient})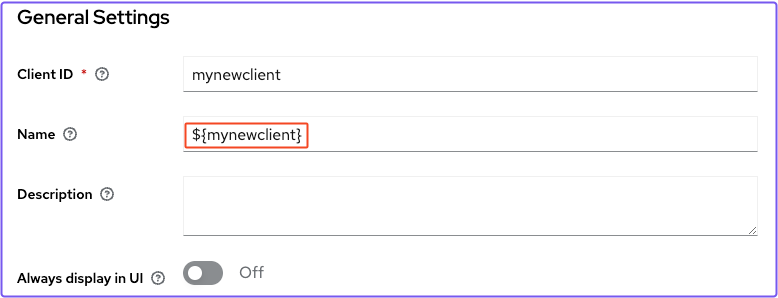
- Go to Access settings
- In Root URL, enter
${authBaseUrl} - In Home URL, enter
/realms/<your_realm>/<your_client_id>/ - In Valid redirect URIs, enter
https://authenticate.localhost.pomerium.io/oauth2/callback - In Web Origins, enter
https://authenticate.localhost.pomerium.io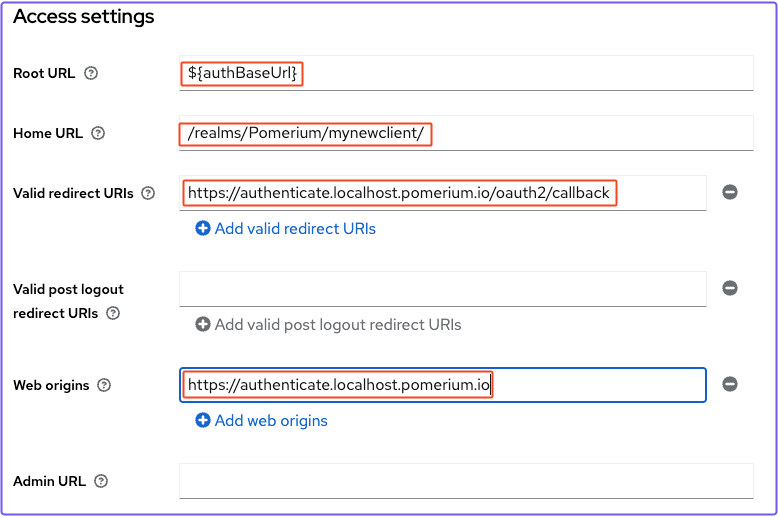
- Under Capabilities config, turn on Client authentication
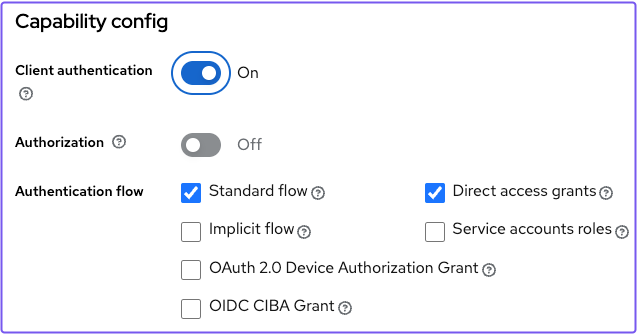
Save your settings.
Get the client secret
In the client details page:
- select the Credentials tab
- Copy the Client secret
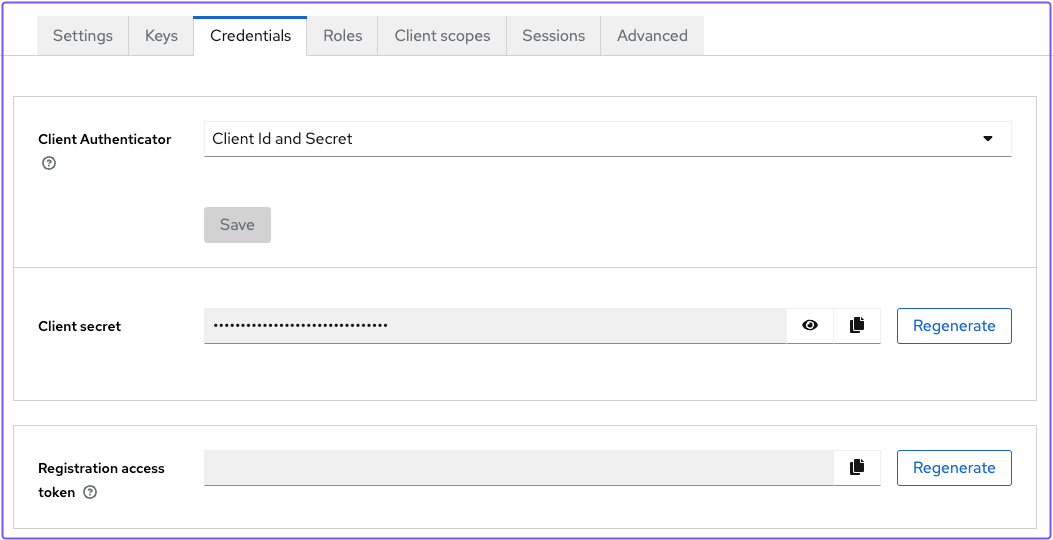
You need to include the client secret in your Pomerium configuration file.
Set up Pomerium
Create a YAML file and add the following configuration:
authenticate_service_url: https://authenticate.localhost.pomerium.io

idp_provider: oidc
idp_client_id: 'mynewclient'
idp_client_secret: 'your_client_secret' # enter your client secret here
idp_provider_url: 'http://keycloak.localhost.pomerium.io:8080/realms/Pomerium'

signing_key: LS0tLS1CRUdJTiBFQyBQUklWQVRFIEtFWS0tLS0tCk1IY0NBUUVFSVA2TUN5UFI5OUNmSEVkU0s4cVdzbk51Q0RyMVZ3ay93RER1RVhyQitELzZvQW9HQ0NxR1NNNDkKQXdFSG9VUURRZ0FFQ0JTK3gyQnJRNVJqNHJFcU5PSEVsUFVESXJiRlNhRitoWEhEL1RYby9rQWVKU1lJSjJHVwpZMnE0a0NPNTU4RmdoYmxDTUplYVdjV1luT3JuZkpxeXRnPT0KLS0tLS1FTkQgRUMgUFJJVkFURSBLRVktLS0tLQo=

routes:
  - from: https://verify.localhost.pomerium.io
    to: http://verify:8000
    allow_any_authenticated_user: true
    pass_identity_headers: true
First, add your client secret to the configuration file.
Note the following points:
- The
idp_provider_urlshould match the Keycloak network alias in your Docker Compose file. So that it's valid, add the protocol (http://) and the correct path (/realms/<your_realm>) to the URL. - The
signing_keyis used by Pomerium to cryptographically sign the user's JWT, and is required for identity verification - The
pass_identity_headerssetting forwards the JWT Assertion Header to the upstream application
Do not use the signing key in the example above in a production environment. See Signing Keys for more information on generating and using signing keys.
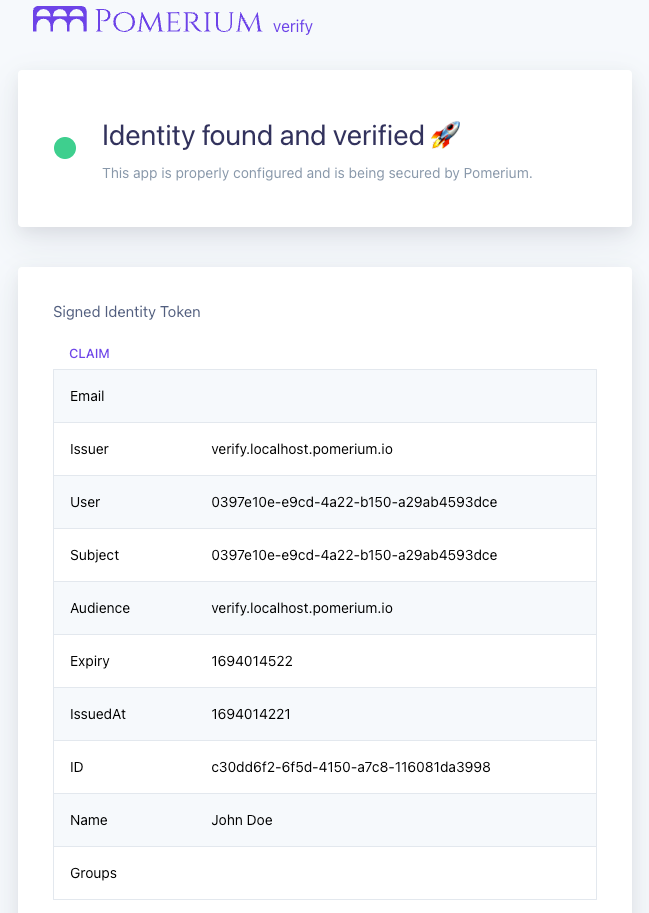
Access the Verify app
Access the Verify URL in your configuration file.
If you notice a self-signed certificate warning, see Handle Self-Signed Certificate Warning to bypass it.
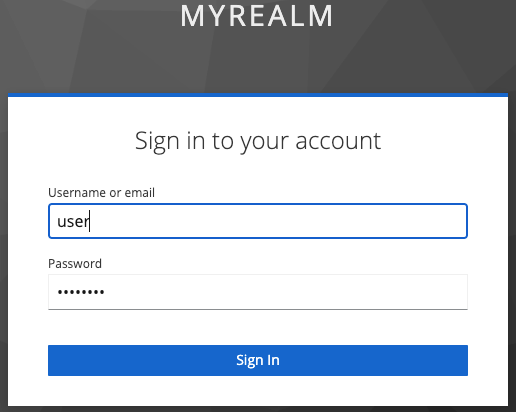
Pomerium should redirect you to the sign-in page of the Keycloak realm you created. Sign in with your user's credentials.
Once you sign in, you can verify that Pomerium handled the JWT and included the OIDC claims from Keycloak: